Glazing in Oil and Acrylic Painting
(Watch the videos at the bottom of this article to see these techniques in action)
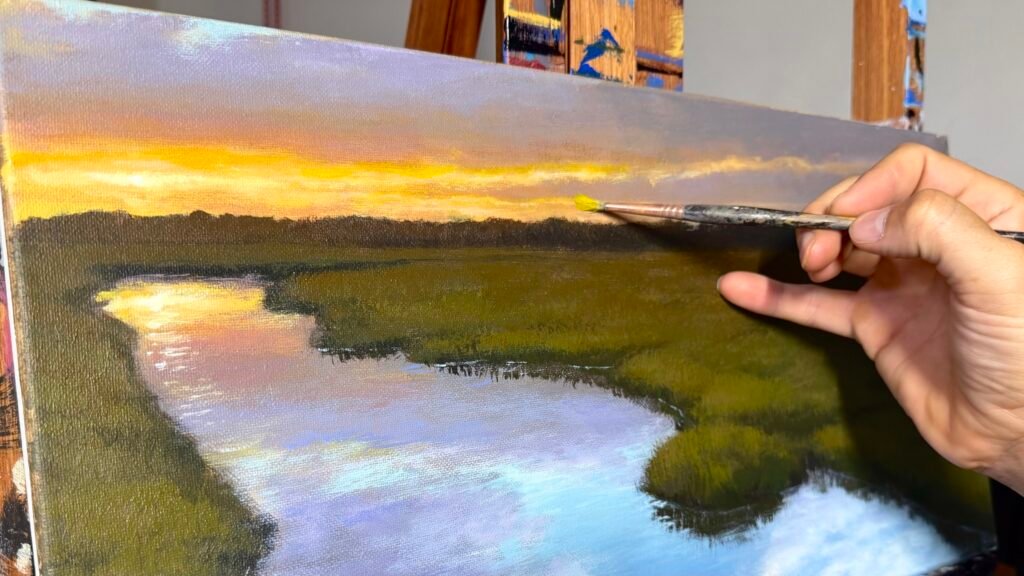
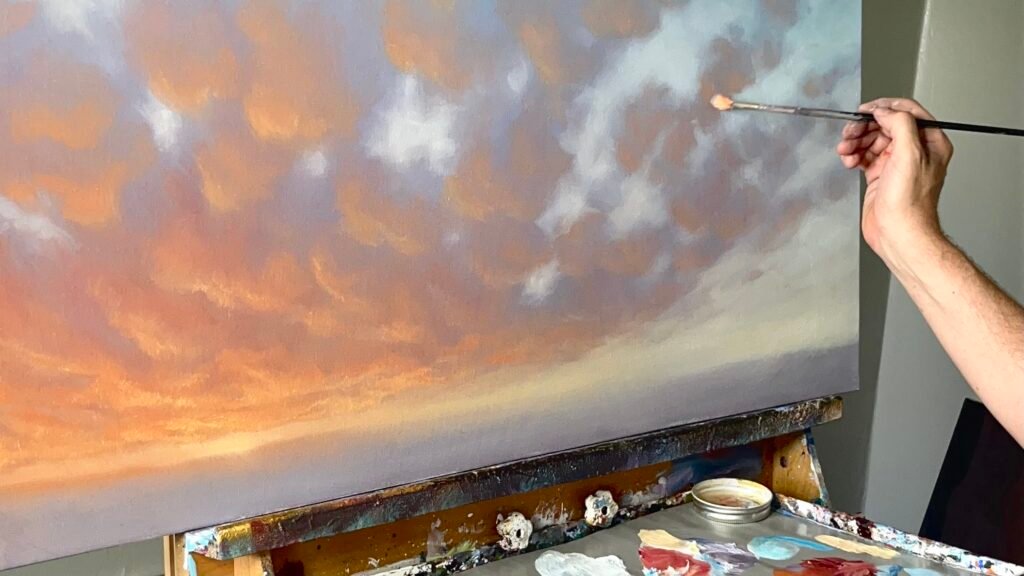
Glazing is one of the techniques I use constantly in my own paintings to create atmospheric skies, glowing clouds, and soft transitions. I can teach you this and many more painting techniques. Click to read more -> Join My Membership Program,
Glazing is one of the most powerful techniques for creating atmosphere, depth, and luminous color in painting. While glazing in oil and acrylic uses slightly different approaches, both techniques allow artists to slowly build transparent layers of paint to subtly adjust color, temperature, and mood within a painting.
Instead of repainting large sections of your artwork, glazing gives you the ability to make controlled adjustments gradually. You can warm up skin tones, cool down shadows, soften transitions, create glowing sunsets, deepen water reflections, or add richness to clouds and landscapes — all through thin transparent layers of paint.
At its core, glazing is simply the process of applying thin, transparent layers of color over dry paint.
Why Glazing Works
Glazing creates a visual depth that is difficult to achieve with direct opaque painting alone. Because the layers remain transparent, light passes through each layer and reflects back through the underlying colors. This creates a glowing, luminous quality that gives paintings life and atmosphere.
Glazing is also incredibly forgiving. Since each layer is subtle, you can slowly build toward the exact effect you want instead of making drastic changes all at once.
Some common uses for glazing include:
- Warming or cooling areas of a painting
- Deepening shadows
- Creating atmospheric distance
- Enhancing sunsets and skies
- Softening transitions
- Adding richness to skin tones
- Creating luminous water and reflections
Glazing in Oil Painting
Watch the videos at the bottom of this article to see these techniques in action.
Glazing with oils is extremely smooth and controlled because the oil medium increases transparency and allows the paint to move easily across the surface.
My preferred method is using linseed oil.
Step 1: Oil In the Surface
Start by applying a very small amount of linseed oil over the area you want to glaze using a clean brush. This process is called oiling in.
Oiling in creates a smooth surface and slightly revives the painting underneath, allowing the glaze layer to spread evenly and remain transparent.
You only want a tiny amount of oil — the surface should not look wet or puddled.
Step 2: Prepare the Paint
Take the color you want to glaze with and mix in just a small amount of linseed oil. The consistency should become thin and fluid, almost like ink.
The goal is transparency, not thick paint.
Step 3: Apply Thin Layers
Using a small amount of paint, lightly brush the glaze over the area you want to adjust. Because the layer is transparent, the changes will be subtle at first.
That’s exactly what you want.
Continue slowly building thin layers until you achieve the atmosphere, temperature, or color shift you’re after. Multiple thin glazes create a far richer effect than one heavy layer ever could.
Glazing in Acrylic Painting
Acrylic glazing uses water instead of oil to create transparency.
Unlike oils, you do not need to oil in the canvas first.
Step 1: Prepare Your Brush
I prefer using a bristle brush for acrylic glazing because it allows you to lightly scrub the paint into the surface.
Before painting, soak the brush in water so the bristles absorb moisture. You do not want the brush dripping wet — if there is too much water, simply wipe some off on a paper towel.
Step 2: Thin the Paint
Add a small amount of water to your acrylic color until it reaches a thin, ink-like consistency.
The water acts as a medium that increases transparency and allows the paint to be layered gradually.
Step 3: Build Layers Slowly
Using light scrubbing brush strokes, work the transparent paint into the surface of the painting. Continue layering color slowly rather than trying to achieve the effect in one pass.
As the transparent layers build, you’ll notice increased depth, atmosphere, and softness within the painting.
The Key to Great Glazing
The biggest mistake artists make with glazing is trying to force the result too quickly.
Glazing is about patience and subtlety.
Each layer should slightly adjust the painting rather than completely changing it. As multiple transparent layers build on top of one another, the painting develops a depth and glow that opaque painting alone often cannot achieve.
Want to Learn More Painting Techniques?
Techniques like glazing are just a small part of creating professional-looking paintings. Inside my online painting membership. Click here to join -> Tim Gagnon Art Lessons & Membership,
I teach step-by-step painting lessons covering oil painting, acrylic painting, clouds, landscapes, wildlife, color mixing, atmospheric depth, and much more.
Whether you’re a beginner or an experienced painter looking to improve your realism and atmosphere, the membership gives you access to a growing library of lessons designed to help you paint with more confidence and control.
Watch This Step-by-Step Acrylic Glazing Demonstration
In this lesson I show how to create atmosphere and luminous qualities within an acrylic painting.
Watch This Step-by-Step Oil Glazing Demonstration
In this lesson I demonstrate how to build transparent layers to create atmosphere, soften transitions, and add luminous depth to an oil painting.
Want to Learn Professional Painting Techniques?
Inside the Tim Gagnon Studio Membership, I teach step-by-step oil and acrylic painting lessons covering:
- glazing techniques
- clouds and atmosphere
- wildlife painting
- color mixing
- landscapes
- lighting and realism